A Responsive Blogger Website, That Take my blog to the next level.

I am a Software Developer, Learning and experementing with .Net Technology and try to put my Learning altogether here.


We have all sections related to .Net Technology, like .Net-C#, Asp.Net, MVC, jQuery, AngularJs, Sharepoint. Find out more...


Following are the some of the Advantages of using this Web site :-

  • Get Update about latest in .Net world.
  • Collection of Useful, Frequently used .Net Solutions.
  • It’s beautiful on every screen size (try resizing your browser!)
Showing posts with label jQuery. Show all posts
by · No comments :

14 jQuery Modal Dialog Boxes
Chandan Kumar
shared this article with you.
A great way to show quick information to your users is to use jQuery modal dialog boxes or windows. Dialog boxes can also be used to alert them to warnings, errors and more. If done correctly, good looking dialogs can be an easy way to make your site feel more modern without a lot of extra work.
Many frameworks, such as Twitter Bootstrap or Zurb Foundation, will include modals and dialogs. However, if all you want is a great looking, easy to use modal window without rolling your own from scratch, there are plenty of libraries out there to help you.
Here are some Modal Dialog Boxes for you, enjoy!
Update 12 Dec 2013: Updated all plugins in this post and added new images of demos. Removed missing plugins and added new ones. There are now 18 decent ones.
Update 10 March 2016: The list of plugins have been completely updated and refreshed. If you're not already using jQuery, skip to the bonus section for JavaScript libraries that don't require it!

1. vex

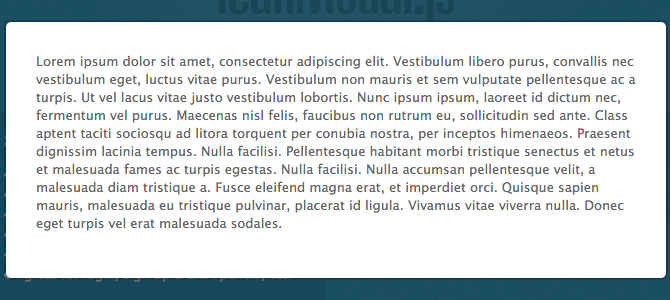
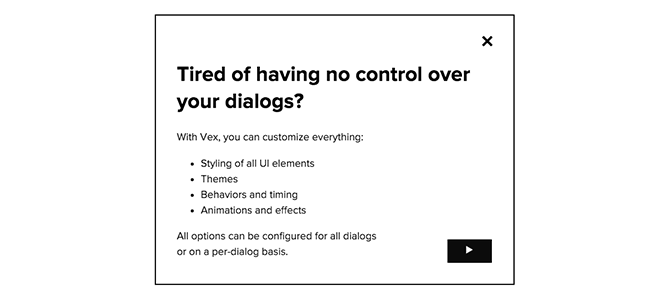
Easily styled, highly configurable, and mobile ready, vex is a pleasure to use. Start using vex on your projects as simply a drop-in replacement, without conflicting with other libraries or plugins you may have installed. Give your site that modern look.

vex example

Homepage/Demo | GitHub

2. animatedModal.js

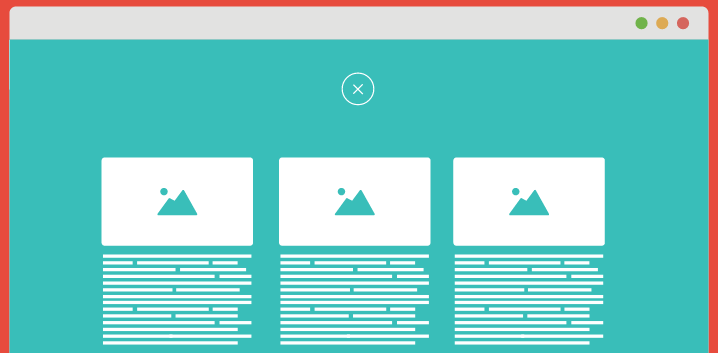
animatedModal.js is a jQuery plugin to create a fullscreen modal with CSS3 transitions. You can use the transitions from animate.css or create your own transitions.

animatedModal example

Homepage/Demo | GitHub

3. Remodal

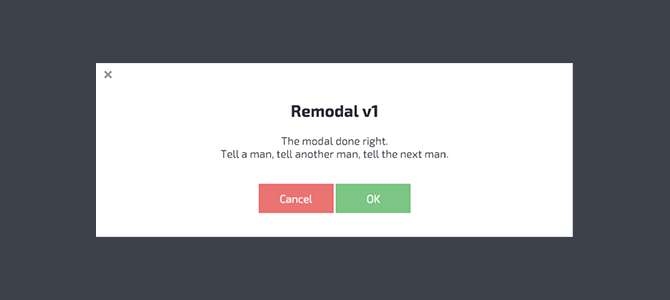
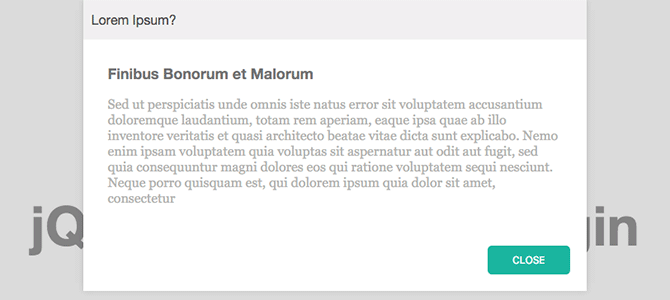
Remodal is a responsive, lightweight and fully customizable modal window plugin with declarative configuration and hash tracking. You can also define a background container for the modal (so as to create effects such as a blur). It also supports IE8.

Remodal example

Homepage/Demo | GitHub

4. Avgrund Modal

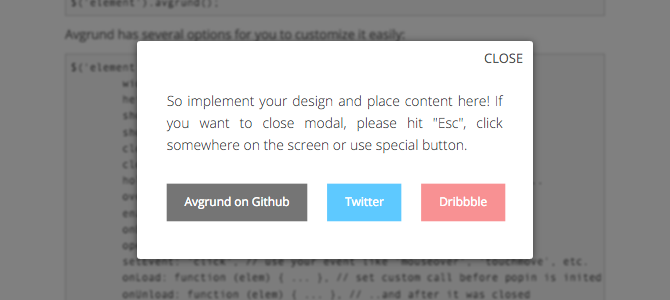
Looking for something a little different? Avgrund may have you covered. The default settings create a unique effect that not only adds animations to the modal, but to the page itself, elegantly creating an illusion of depth. The best way to see how it looks is to check out the demo in the links below for yourself.

Avgrund Modal Example

Homepage/Demo | GitHub

5. noty

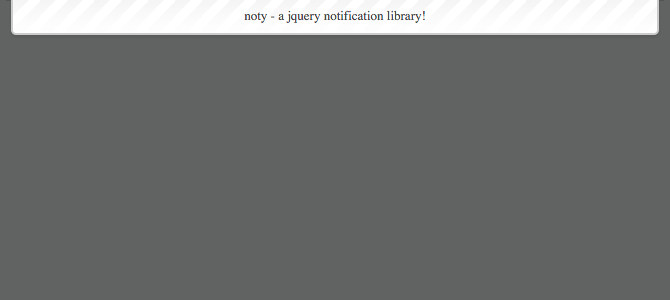
Who said modals need to be centered? The default for noty is flush with the top of the screen ( with the ability to easily set a variety of positions). Other modal dialogs can achieve this effect, so this isn't necessarily unique to, but noty makes it very easy to configure.

noty Modal Example

Homepage/Demo | GitHub

6. Lean Modal

If you are using jQuery, but still want something lightweight, Lean Modal is lean and mean. At only 1kb, with no extra CSS, you'll hardly even notice Lean Modal is there.

Lean Modal Example

Homepage/Demo | GitHub

7. jQuery Popdown

Tired of going popping up? Try popping down for a change. jQuery Popdown's default, and only, animation comes in from the top and into our list. What it lacks in documentation and customizability, it makes up for in simplicity.

jQuery Popdown Example

Homepage/Demo | GitHub

8. jQuery UI Dialog

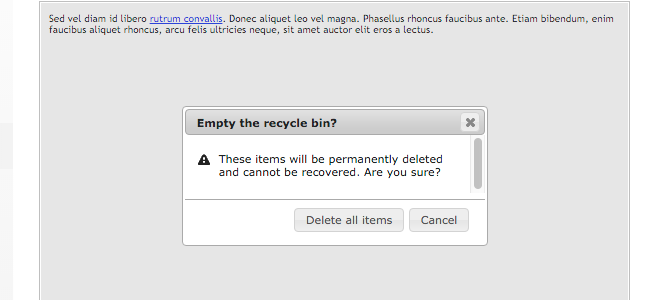
jQuery UI is a well supported, widely used, easily customizable, lightweight jQuery based frontend framework. The entire framework includes much more more than just modals, but if all you're looking for are the dialog boxes, each module of the framework can be easily used individually from the download page.

jQuery UI Modal Example

Homepage/Demo | GitHub

9. Colorbox

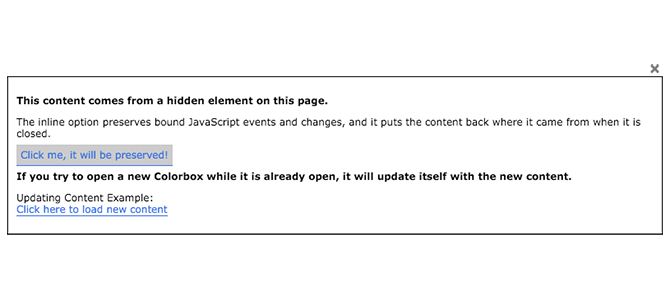
Designed as a lightbox plugin to display images, Colorbox can elegantly meet the needs of both a lightbox and a modal dialog system.

Colorbox Example

Homepage/Demo | GitHub

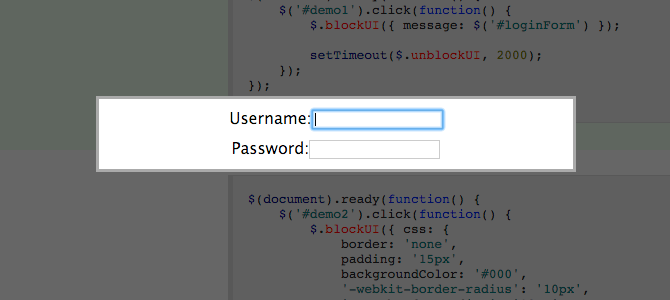
10. BlockUI

While every plugin on this list is capable of Ajax, BlockUI is built for it. It allows developers to simulate synchronous behavior using Ajax, without locking the browser. BlockUI adds elements to the DOM to give it both the appearance and behavior of blocking user interaction.

BlockUI Example

Homepage/Demo | GitHub

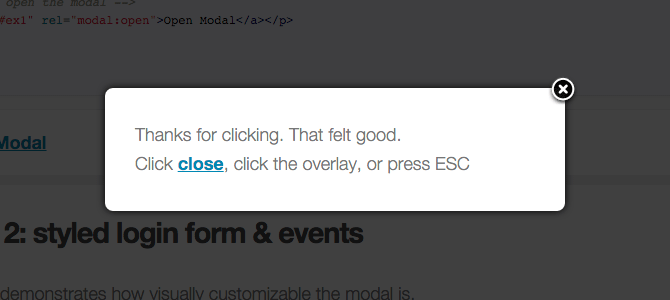
11. jQuery Modal

For what it lacks in creative naming, it makes up for in browser support. The documentation claims to even support the text based browser Lynx. But, don't be confused, jQuery Modal is not part of the jQuery project.

jQuery Modal Example

Homepage/Demo | GitHub

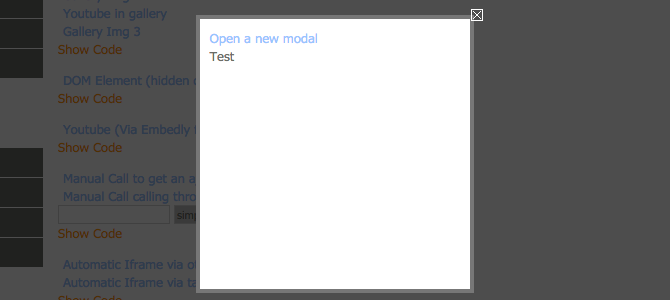
12. nyroModal

Do you like customization? Well, let me introduce nyroModal. Many of the other plugins on this list allow for a great deal of customization, but nyroModal is designed around allowing the developer a great deal of freedom, even down to the animations.

nyroModal Example

Homepage/Demo | GitHub

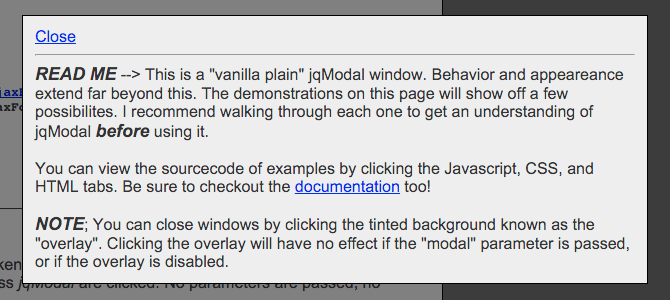
13. jqModal

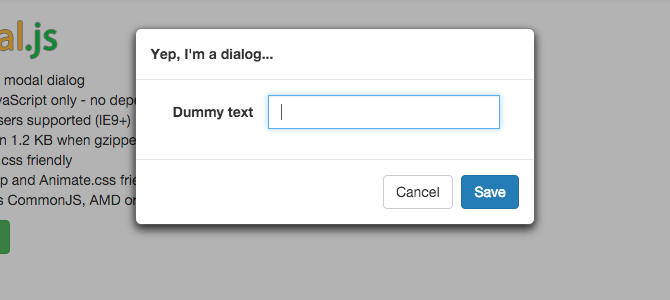
At only about 375 lines of code, including comments, the source code jqModal is very basic and straightforward. Making it a great option if you want to dig into the source code yourself.

jqModal Example

Homepage/Demo | GitHub

14. Zebra Dialog

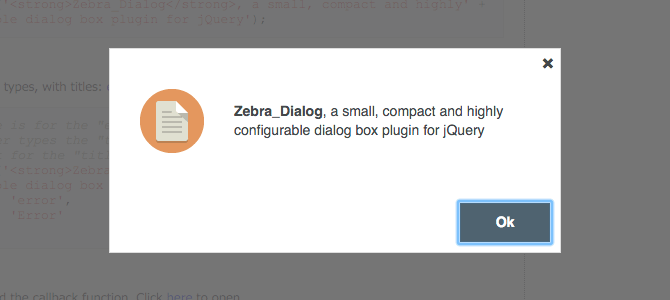
The default flat theme on Zebra looks fantastic, however feel free to customize your own!

Zebra Dialog Example

Homepage/Demo | GitHub

Bonus: rmodal

Want something that doesn't use jQuery, but is still lighweight and looks great? You may have found the one you're looking for. Coming in at 3kb and no jQuery dependancy, rmodal is the most lightweight option on our list.

rmodal Example

Homepage/Demo | GitHub

Bonus: SweetAlert

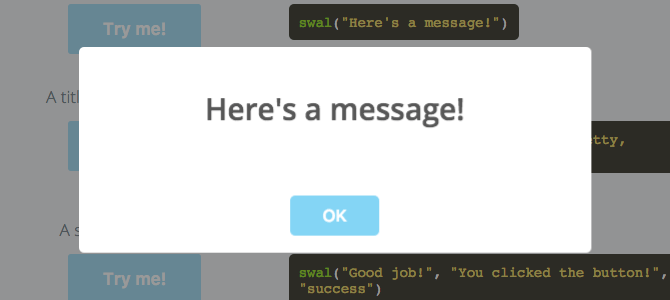
SweetAlert may not be the most lightweight modal on our list at 17kb, but it is the most popular. However, it does not need jQuery. If your site is small and the only reason you're considering jQuery is to add a dialog, 17kb is much smaller than the entire jQuery library which can be hundreds of kilobytes. Sweet Alert also looks really great.

Sweet Alert example

Homepage/Demo | GitHub

Inoreader is a light and fast RSS Reader. Follow us on Twitter and Facebook.
Read More
by · No comments :

Let's Make Some Maps In JQuery

Chandan Kumar
shared this article with you.
JQuery
In this article you will learn how to make maps in JQuery.
This week I decided to finally create interactive maps for my web app, so I'm writing a simple tutorial on how I did it. If you build web apps and want to display geographical data, I hope you will be able to make use of what I have written here.
Here I will talk about the process of creating maps in one of the most popular JavaScript libraries - jQuery. For maps, we will use FusionCharts JavaScript charts library and their jQuery charts plugin.
With the intro out of our way, let's make some maps!
A quick look into what we will be creating: (Click here to see live version).


I have divided this tutorial into the following two steps:
  1. Loading required JS files
  2. Defining map container and FusionCharts instance 
Step 1: Loading Required JavaScript Files
To render an interactive map, we will need the following JavaScript files:
One quick tip here: include minified/compressed versions for above libraries in your production code. But I hope you are doing that already for all your JavaScript files.
All the above files will go inside HTML `script` tags. Here's how to do it:
  1. <head>        
  2. <script type="text/javascript" src="http://code.jquery.com/jquery-1.12.0.min.js"></script>       
  3. <script type="text/javascript" src="path/to/fusioncharts-jquery-plugin.js"></script>        
  4.     <script type="text/javascript" src="path/to/fusioncharts.js"></script>        
  5.     <script type="text/javascript" src="path/to/fusioncharts.maps.js"></script>  
  6.     <script type="text/javascript" src="path/to/fusioncharts.world.js"></script>  
  7. </head>  
Step 2: Defining Map Container and FusionCharts Instance 
We will use HTML `div` as our map/chart container and select it using standard jQuery `$` selector.
  1. <div id="chart-container">Awesome chart on its way!</div>  
We now need to define FusionCharts instance using `insertFusionCharts` method provided by the jQuery plugin. Properties and values inside `chart` object under `dataSource` are self explanatory.
Here is the jQuery code for this step:
  1. (function() {  
  2.   $("#chart-container").insertFusionCharts({  
  3.     type: 'world',  
  4.     renderAt: 'chart-container',  
  5.     width: '800',  
  6.     height: '480',  
  7.     dataFormat: 'json',  
  8.     dataSource: {  
  9.       "chart": {  
  10.         "caption""Global Population Density",  
  11.         "theme""fint",  
  12.         "showLabels""1",  
  13.         "formatNumberScale""0"  
  14.       },  
  15.       "colorrange": {  
  16.         "minvalue""0",  
  17.         "startlabel""Low",  
  18.         "endlabel""High",  
  19.         "code""#FF4411",  
  20.         "gradient""1",  
  21.         "color": [{  
  22.           "maxvalue""25",  
  23.           "code""#FFDD44",  
  24.           "displayValue""Median"  
  25.         }, {  
  26.           "maxvalue""100",  
  27.           "code""#6baa01"  
  28.         }]  
  29.       },  
  30.       "data": [{  
  31.         "id""NA",  
  32.         "value""22.1",  
  33.         "showLabel""1",  
  34.         "displayValue""Moderate"  
  35.   
  36.   
  37.       }, {  
  38.         "id""SA",  
  39.         "value""22.0",  
  40.         "showLabel""1",  
  41.         "displayValue""Moderate"  
  42.       }, {  
  43.         "id""AS",  
  44.         "value""95.0",  
  45.         "showLabel""1",  
  46.         "displayValue""Dense"  
  47.       }, {  
  48.         "id""EU",  
  49.         "value""72.5",  
  50.         "showLabel""1",  
  51.         "displayValue""Dense"  
  52.       }, {  
  53.         "id""AF",  
  54.         "value""33.7",  
  55.         "showLabel""1",  
  56.         "displayValue""Moderate"  
  57.       }, {  
  58.         "id""AU",  
  59.         "value""3.2",  
  60.         "showLabel""1",  
  61.         "displayValue""Sparse"  
  62.       }]  
  63.     }  
  64.   });  
  65. }());  
`type` attribute defines the map we are going to plot - `world` in this example. Size of the map is defined using `height` and `width` attributes. `chart` object under `dataSource` contains map configuration options like caption, background color, data plot color and display formats for numbers etc. `data` array contains the data being plotted inside the map.
Conclusion
My objective with this tutorial was to get you started with making maps in jQuery for your website. But this is just the tip of the iceberg, and there is a lot more you can do with it. If you are interested in exploring further, check out the following resources: 
  • If you are new to FusionCharts, you can visit my earlier tutorial on getting started with FusionCharts.
  • To learn more about abilities of FC's jQuery wrapper, refer to this developer documentation.
  • You can configure you map's functionalities through markers, drill-down etc.
  • To explore which maps you can make, visit this specs page.
PS: I hope you like it! I'll be hanging around here, so feel free to post any question.
View on the web
Inoreader is a light and fast RSS Reader. Follow us on Twitter and Facebook.
Read More
by · No comments :

Modernizr and Polyfilling

Recently I have come across a question about the HTML5 feature support by different browsers. How you make sure that the application render properly in non-supporting browsers?

Answer for above question is the proper usage of Modernizr and Polyfilling.


Polifill is a code block that mimics the functionality of an API by providing fallback functionality to older browsers. For example, LocalStorage introduced in HTML5 is not supported in IE7; but we can use a Polifill to implement the LocalStorage support in IE7.

Modernizr is a JavaScript library that detects HTML5 and CSS3 feature supports in user’s browser. Using Modernizr conditional statements, we can define the new features for supporting browsers and another code block for non-supporting browsers.

Modernizr along with Polyfill help the UI developer to address the non-supporting browsers.
Read More
by · No comments :

What is CallBack - In General ?


Callbacks are used extensively in asynchronous programming. When you don't want to block until a (possibly) long-running operation completes, one of the ways to approach the problem is to delegate the operation to someone who will do it on the side for you. This raises the question: how will you be able to tell when the operation is complete, and how will you get its results?
One solution would be to delegate the work to someone else and take a moment off your normal work every now and then to ask "is the work I gave you done yet?". If so, get the results in some way and off you go. Problem solved.
The problem with this approach is that it doesn't make your life much easier. You are now forced to ask every little while and you will not know that the operation is done as soon as it actually is (but only the next time you remember to ask). If you forget to ask, you will never be notified.
A better solution to this is the callback: when delegating work, provide a function along with it. The code which will actually do the work then promises to call that function as soon as the work completes. You can now forget all about that stuff and be secure in the knowledge that when the work is done, your callback will be called. No sooner, and no later.
Read More
by · No comments :

Important Tips on jQuery - script tag in head or body?


In an HTML file, you can refer to your JavaScript at two places - within the head tag, or just before the closing close body tag. The web browser processes an HTML page from top to bottom, and executes any JavaScript that it finds between script tags, along the way. Due to this, the loading of the page is blocked if one of your scripts takes time to execute. Therefore, it's better to put the scripts just before the closing tag of body element, which ensures that your script is run, after the DOM is loaded.

In some of my articles and even my book, I often chose to put the script inside the head tag, but this is only for the sake of readability. But I also make sure to use $(document).ready() or the shortcut $(function(){ }) which ensures that the script will be executed only when the browser has loaded all of the content in the HTML document. Hence I am achieving the same effect as that of putting the script just before the closing close body tag.
Having said that, keep in mind that by having your scripts at the bottom of the page, you can completely avoid the use of $(document).ready(). In fact, in all my production ready applications, I use my scripts at the bottom of the page.


Read More
by · No comments :

Important Tips on jQuery - Difference between this, $this and $(this)


Let us understand the difference between this$this and $(this) with an example. Consider the following code:
$('div').each(function () {
    var $this = $(this);
    $this.css("background-color", "blue");
    $this.slideUp('3000');
    $this.slideDown('3000');           
});
Here we are looping over a bunch of div’s using each(). Once you are inside the loop, this refers to the DOM element which is not a jQuery object. So to make it a jQuery object and to run jQuery methods on it, we do $(this).
Now look at this statement: var $this = $(this);
If you’re going to reference the DOM element multiple times in the code, which we are doing in our example; then for performance sake, you should get a jQuery reference to it and then save that to a variable. Here $this is that variable. This is also called as caching the selector as it is expensive to run the jQuery function $(this) each time. So storing the output in a variable allows you to re-use the selector over and over, without calling the jQuery function again.
Note: Don’t get confused with $this. You can call it anything you like. I usually refer to variables that contain jQuery objects as $variablename.
Read More
by · No comments :

Which JavaScript framework do I choose !!

Since JavaScript has made a big comeback as one of the most sought after skills in the job market there has been a lot of talk about which frameworks to focus on. Developers have several frameworks to choose from today; Angular, Ember, Knockout, Durandal, React and the list goes on.... Granted some of these are not in direct competition since they serve different purposes, but they all deserve to be on the list of notable frameworks in today's market. In this post I will talk about why I don't think it really matters which one you end up going with.
Not too long ago it used to be the case that developers relied on Jquery to do all the heavy lifting when building client side web applications, but the tight coupling between Jquery and the markup made the code hard to maintain and unit test as applications grew bigger and more complicated. Luckily some people realized this and created the frameworks we now have come to use and love. Common to all these frameworks is that they provide good organization of your JavaScript code and encourage much needed decoupling of javascript code from the html markup. Among other things the majority of the frameworks out there have some concept of a databound template that your decoupled object model gets applied to during rendering.
I can't emphasize enough how important this decoupling is for building maintainable and unit testable web applications. By removing the dependency on the DOM the code immediately goes from being almost untestable to highly unit testable. If your model is written correctly you should be able to realistically simulate all UI interactions just by writing tests against your models and logic. Not to mention, since your code doesn't assume a particular UI, it can be applied to totally different markup scenarios.
The point I am trying to make is that all the frameworks mentioned above are more about an architectural mindset than a specific syntax, so if you get into that mindset, you will succeed with all of them. The transition from one framework to the next will also become relatively painless since you already understand the core idea behind it.
In my opinion it's much more important that a developer is onboard with this mindset than it is to have x number of years of experience with a particular framework.
If you liked this article, share it with your friends !
Read More
by · No comments :

jQuery AJAX with JSONP


JSONP Example


On many occasions, you may come across a requirement to request data from a remote website. These websites provide APIs that accept requests and send back a response. For security reasons, Ajax requests are limited to the same domain or also known as the same origin. In this context, an origin is the combination of three components: URL protocol, hostname and port. If two URLs have the same components, then they are within the same origin, however if any of the components is different, then they are of different origins or cross origin.
This cross domain policy is enforced to reduce the risks of a cross-site scripting (CSS) attack, where the browser or user maliciously attempts to contact another site.
So how do you make Ajax requests outside your domain or in other words, how do you make cross-domain Ajax requests? jQuery makes it possible to request JSON data outside the domain by requesting JSON with Padding – also known as JSONP. In your Ajax request, if the data is marked as JSONP, jQuery appends a query string parameter callback=? to the URL. Alternatively, you can also manually add &jsoncallback=? to the URL which notifies the calling site that you want to receive JSONP data. Doing so also lets jQuery’s $.getJSON() function treat this request as if the browser was requesting an external JavaScript file. Simply put, JSONP is JSON wrapped inside a function call
Let’s see this in action. We will use the Ziptastic API service (http://ziptasticapi.com/) which accepts a US zip code and returns City and State based on it and gives the data back in JSONP format which you can consume in your jQuery application.
The format of the API call is : http://ziptasticapi.com/zipcode?callback=mycallback
An important thing to observe in this API url is that ZipCode is part of the url.
Create a file ‘SimpleJSONP.html’. Let’s declare two text boxes, one for the Zip code and the other for the City.
Here’s the code to consume this API:
We start by monitoring the change event on the Zip Code textbox. We then use val() to retrieve the value of the Zip Code entered by the user in a variable zip. Since the Ziptastic API is of the format http://ziptasticapi.com/zipcode?callback=mycallback, in our code, we are concatenating the zip code in the url, followed by the callback parameter to tell the API to return JSONP.

We then use $.getJSON and pass in the url and a success parameter result that consists of a callback function that will be called if the request is successful. Inside the callback function, we check the value of the city and if it exists, update the value of the City textbox.

Run the example, enter a zip code say 94101 and hit tab. You will see that the City textbox populates with the City name.
Read More